

Getting comfortable in the kitchen
By Peter Sanagan
I never intended to own a butcher shop, nor did I imagine that becoming a vegetarian would launch my food career. But that’s exactly what happened. When I was 16, I listened to the music of The Smiths and thought meat was murder. I told my parents I was done consuming flesh. My mother acknowledged my right to choose, but wouldn’t make special meals for me. Instead, she gave me a copy of a cookbook and free rein to make my own dinner. I ate a lot of sauerkraut and cheddar sandwiches. After six months of iron deficiency and exhaustion, I succumbed to the pleasures of a Toronto hot dog.
Now, as the owner of Sanagan’s Meat Locker, I am a supplier of exceptional meat and poultry from small family farms in Ontario. We strive to provide an attentive and customized service experience. Many of my customers ask, “How do I roast a chicken?” or “What do you do with an oxtail?” Others ask: “Is this meat organic?” I want people to feel comfortable choosing, buying, cooking, and eating meat, whether they’re preparing basic recipes or challenging ones.
One reason that people are reluctant to prepare meat is that it’s foreign to them. We have grown accustomed to buying processed cuts that require little thought. We choose meat that is already tender, already seasoned, and ready for the pan. Most shoppers want to know how to choose meat and then have their butchers do the dirty work. Of course, the reality is that you aren’t going to do a lot of butchering at home, and you should let the pros do much of the work. However, it’s good to know the basics so you can do simple tasks like breaking down chicken into different cuts or cleaning the silver skin from a beef tenderloin.
Every time a butcher puts a knife to a piece of meat, you are going to pay for it. You pay for the butcher’s time, as well as for the “waste” they are removing. So, it might be a good time to step back, breathe deep, learn a new skill, and save a few bucks in the process. Don’t be discouraged if you “eff it up.” It happens. You have to get your hands familiar with the task, and that can take time. Luckily, when you’re at home, deboning four chicken legs for fried chicken, you have the luxury of time.
When choosing what meat to cook, most start with one of two questions: “What type of meat or poultry do I want to cook?” or “What cooking method do I want to use?” The first is simpler, as many people will drift toward their preferences. Chicken is the most popular meat these days. It’s less expensive than beef, and leaner than pork. The answer to the second is usually guided by the season. Summer brings requests for the grill. Winter brings recommendations for “a good slow-cooked braise.” In either case, you need to know the fundamentals of meat theory and cooking methods.
All four-legged mammals have the same muscle “map.” Every muscle on a pig can also be found on a steer. And a lamb. And a goat. So, once you have a grasp on where a muscle is located on a cow, you know where to find the same muscle on a lamb. This same applies to birds: chicken, duck, quail, and pheasant all have the same cuts…legs, wings, breast, etc. Now that you understand that, you’ll realize that similar cooking methods apply to similar cuts.
All muscles, can be categorized as “working” or “nonworking.” Any muscles that are constantly in use are usually categorized as working. This means hind legs that keep the animal moving. It means shoulders, necks, and front legs that support the body and head. Muscles that aren’t in constant use, like the back muscles and the flank, are “nonworking.” Working muscles tend to be darker and tougher than nonworking, but the trade-off is more flavour. Different methods of cooking should be applied to different muscles.
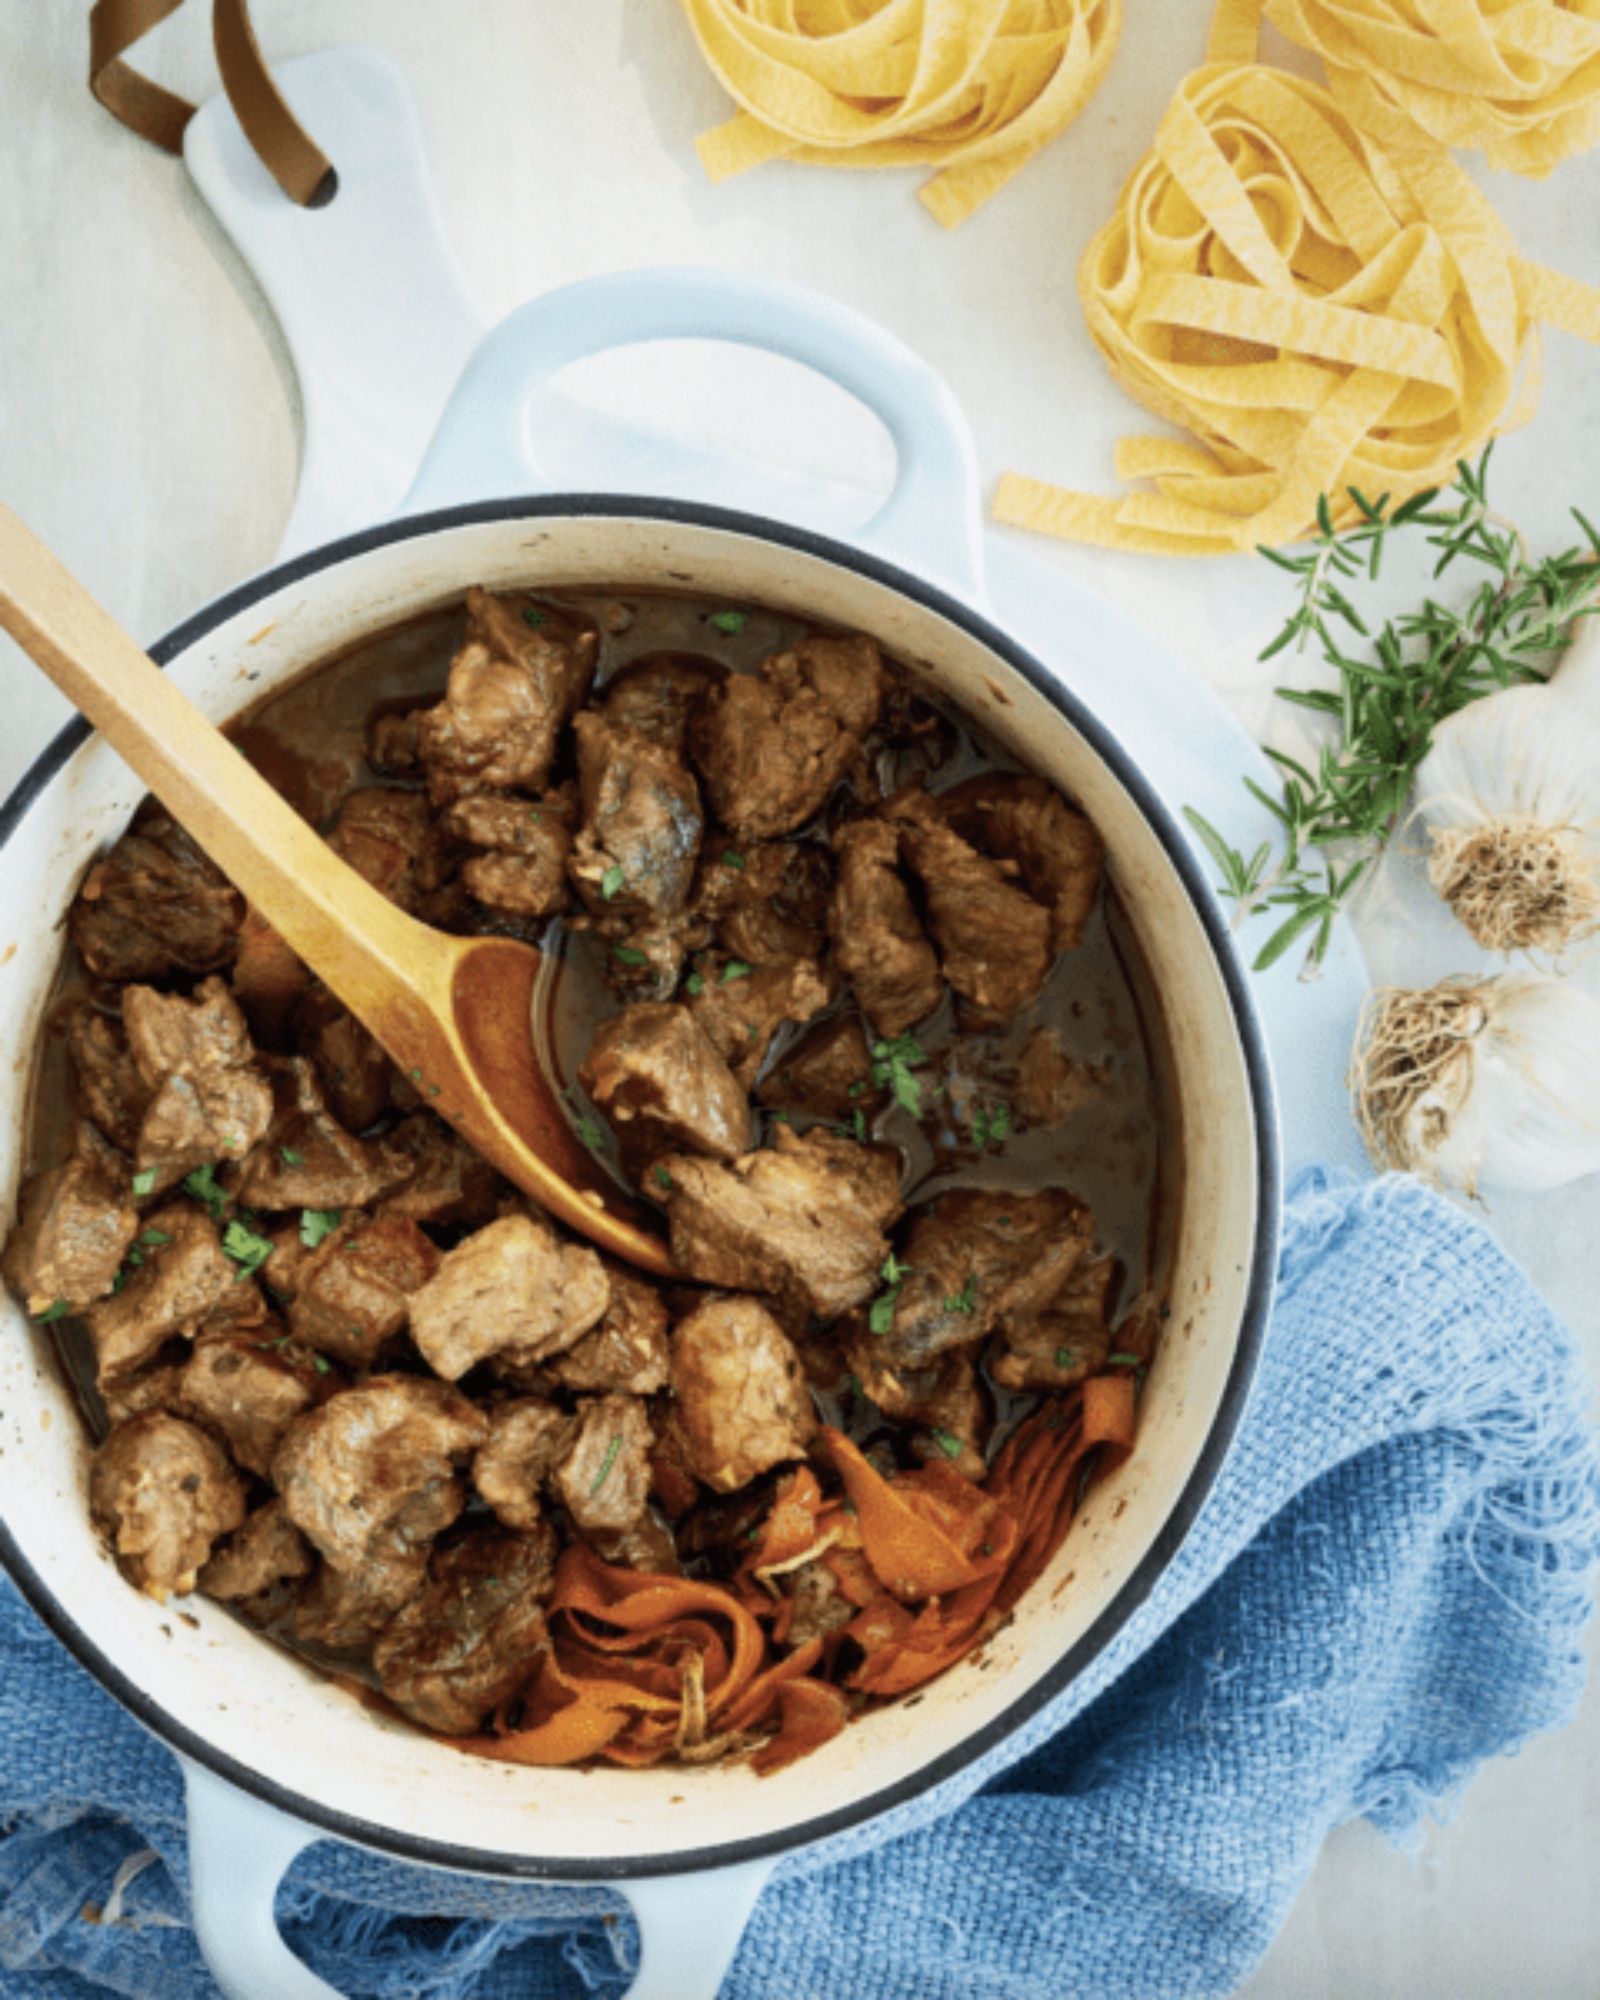
Now that we are in the winter season, let’s talk braising and roasting. Braising means slow-roasting in an aromatic liquid and is commonly used on tougher, harder working cuts of meat to break down the muscle’s protein fibres and make them tender. If you’ve ever pot-roasted something, you know how to braise:
- Season the meat with salt and pepper. In a large ovenproof pot, brown the meat in hot fat (eg. olive oil). When it’s brown all over, remove from the pot.
- In the same pot, saute some aromatic vegetables (onion, garlic, carrot, celery, etc). Add liquid (wine, stock, water, beer, juice, etc.) and herbs to the vegetables.
- Return the meat to the pot. Make sure it is at least three quarters covered with liquid. Put a lid on the pot and cook it in a 300 F oven until the meat is tender.
Many braising recipes require herbs and spices to impart flavour to the dish, but rather than adding them individually, use one of these techniques:
Herb Bundle: Wrap a piece of kitchen twine around a few different herbs and knot it tightly to create a bundle that you can add to the cooking pot and fish out easily once the braise is done. My standard recipe is 6 sprigs thyme, 4 sprigs Italian parsley, 1 sprig rosemary, and 3 bay leaves.
Herb Sachet: A step above an herb bundle, a sachet also includes a few whole spices. Simply place all the ingredients in the centre of a 6-inch square of cheesecloth, roll up the cheesecloth, and tie tightly with kitchen twine. My go-to contains the herb bundle above plus 1 tsp whole black peppercorns and 1 whole clove.
Spice Ball: When making dishes that require whole spices like allspice, coriander, and star anise, I like to use a large tea infuser. Place the spices in the infuser, seal it, and pop it into your braise.
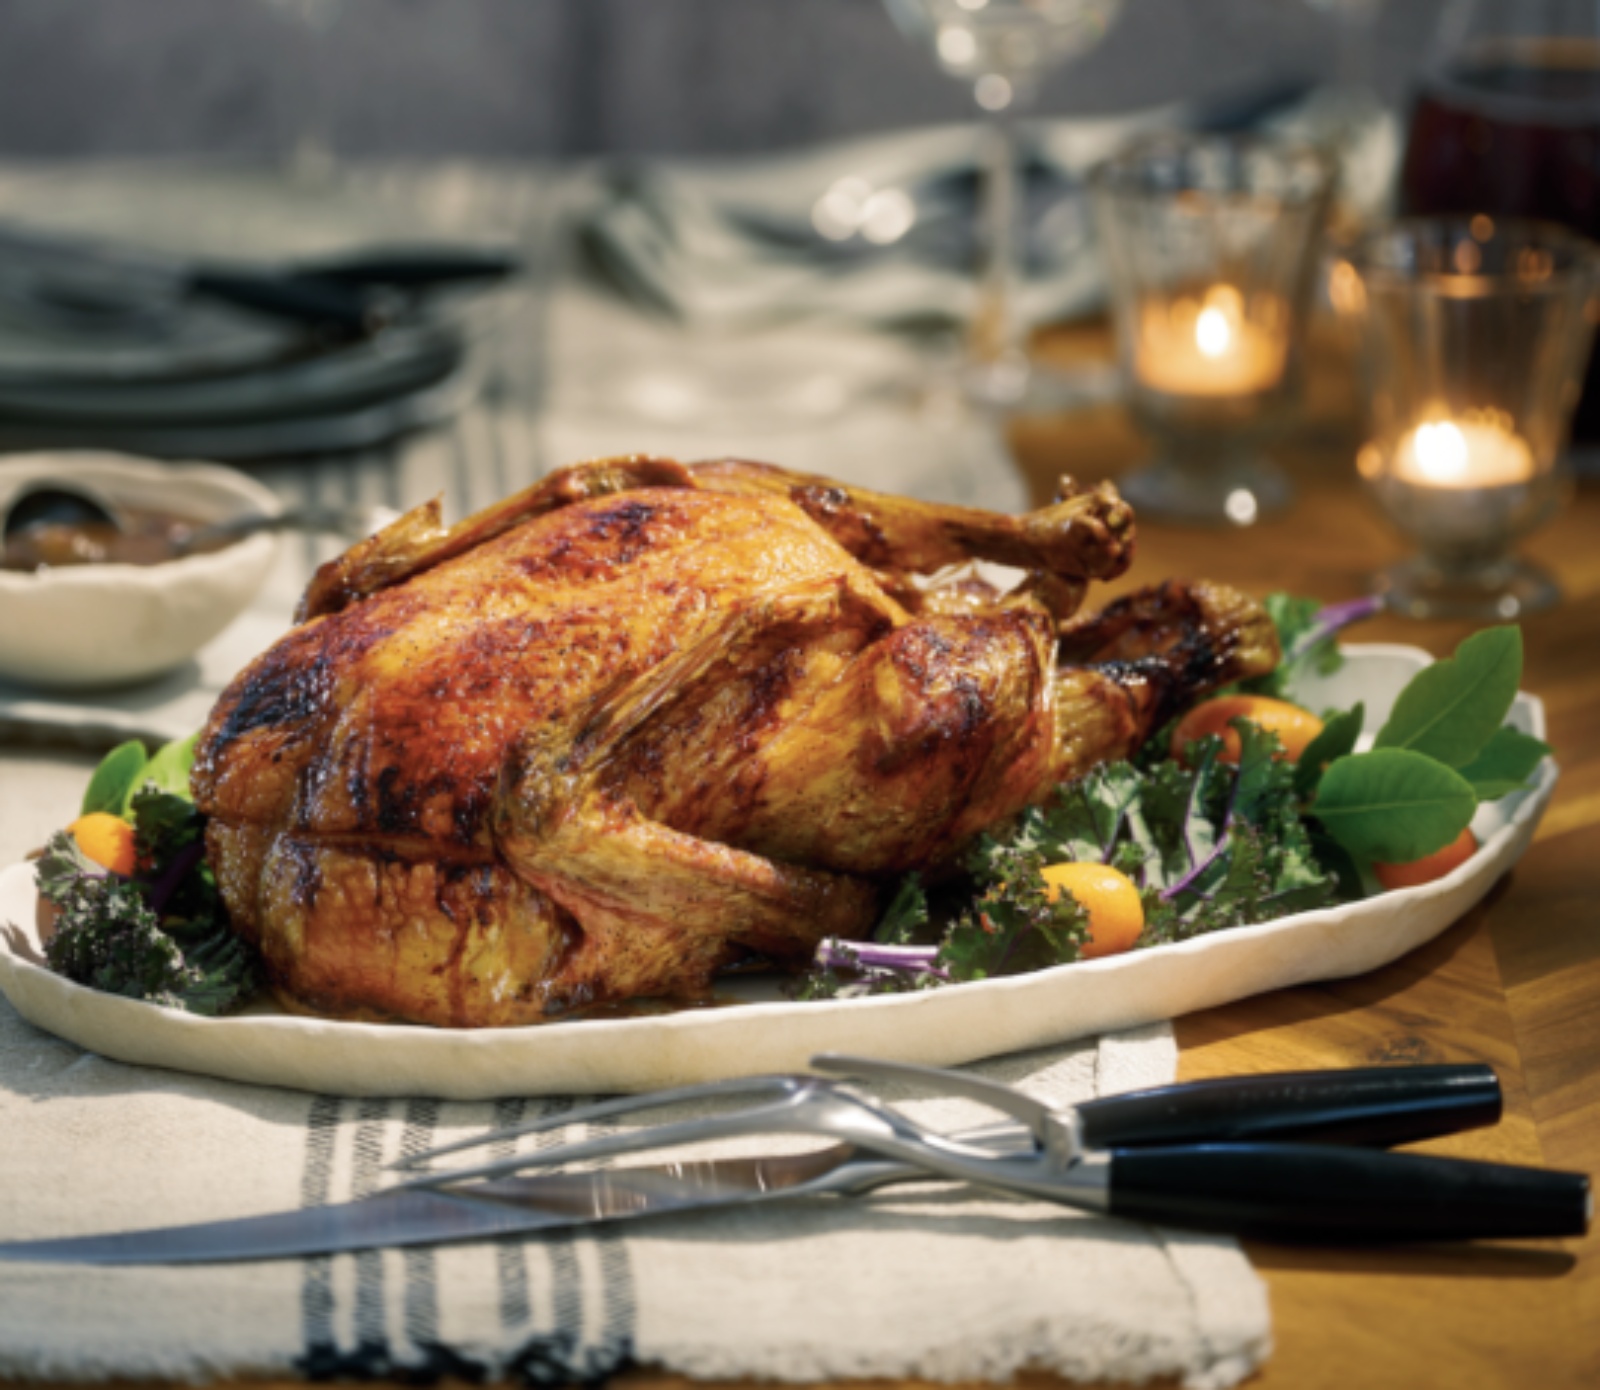
Roasting means cooking in a hot oven, without liquid, and is commonly used on tender, non-working cuts of meat that are either lean or fatty. Most roasting recipes use two different temperatures: lower for the actual cooking and higher to brown the outside of the roast.
- Note the weight of the roast. Bring the meat to room temperature. Season well with salt and pepper (or marinate overnight), then oil lightly;
- Preheat the oven (350°F is the most common oven temperature for roasting);
- Place the meat on an elevated rack in a roasting pan, allowing hot air to circulate around the meat and cook it more evenly.
- Cook the roast for an average of 20 minutes per pound, but you can play with these times based on the roast, until the desired internal temperature is met at the thickest part of the meat. Allow to rest before carving.
During the holiday season, our thoughts often turn to family…both our relatives and our work family. In the restaurant and butcher shop business, you spend a lot of time with others. If you’re lucky, you get to share a meal from time to time. To me, that’s the best time to spend with family. Sunday was sacred in my household growing up. It was the day we went to church and did our homework — it was also the day my mom would make something a little special for dinner. All afternoon the aroma would fill the house, and as the sun set, we would come to the table. Pot roast would be served with carrots cooked in the roasting juices, a chopped salad with various salad dressings, and of course, mashed potatoes. This was treasured time to talk through issues, to laugh at inappropriate jokes, to cry, to eat and drink, and to be happy. This is how I became who I am…a shared experience over pot roast.
Peter Sanagan is the owner of Sanagan’s Meat Locker, specializing in quality meats, poultry, and foodstuffs sourced exclusively from Ontario family farms. His new book, Cooking Meat, is now available.
Excerpted from Cooking Meat: A Butcher’s Guide to Choosing, Buying, Cutting, Cooking, and Eating Meat by Peter Sanagan. Copyright © 2020 Peter Sanagan. Published by Appetite by Random House®, a division of Penguin Random House Canada Limited. Reproduced by arrangement with the Publisher. All rights reserved.