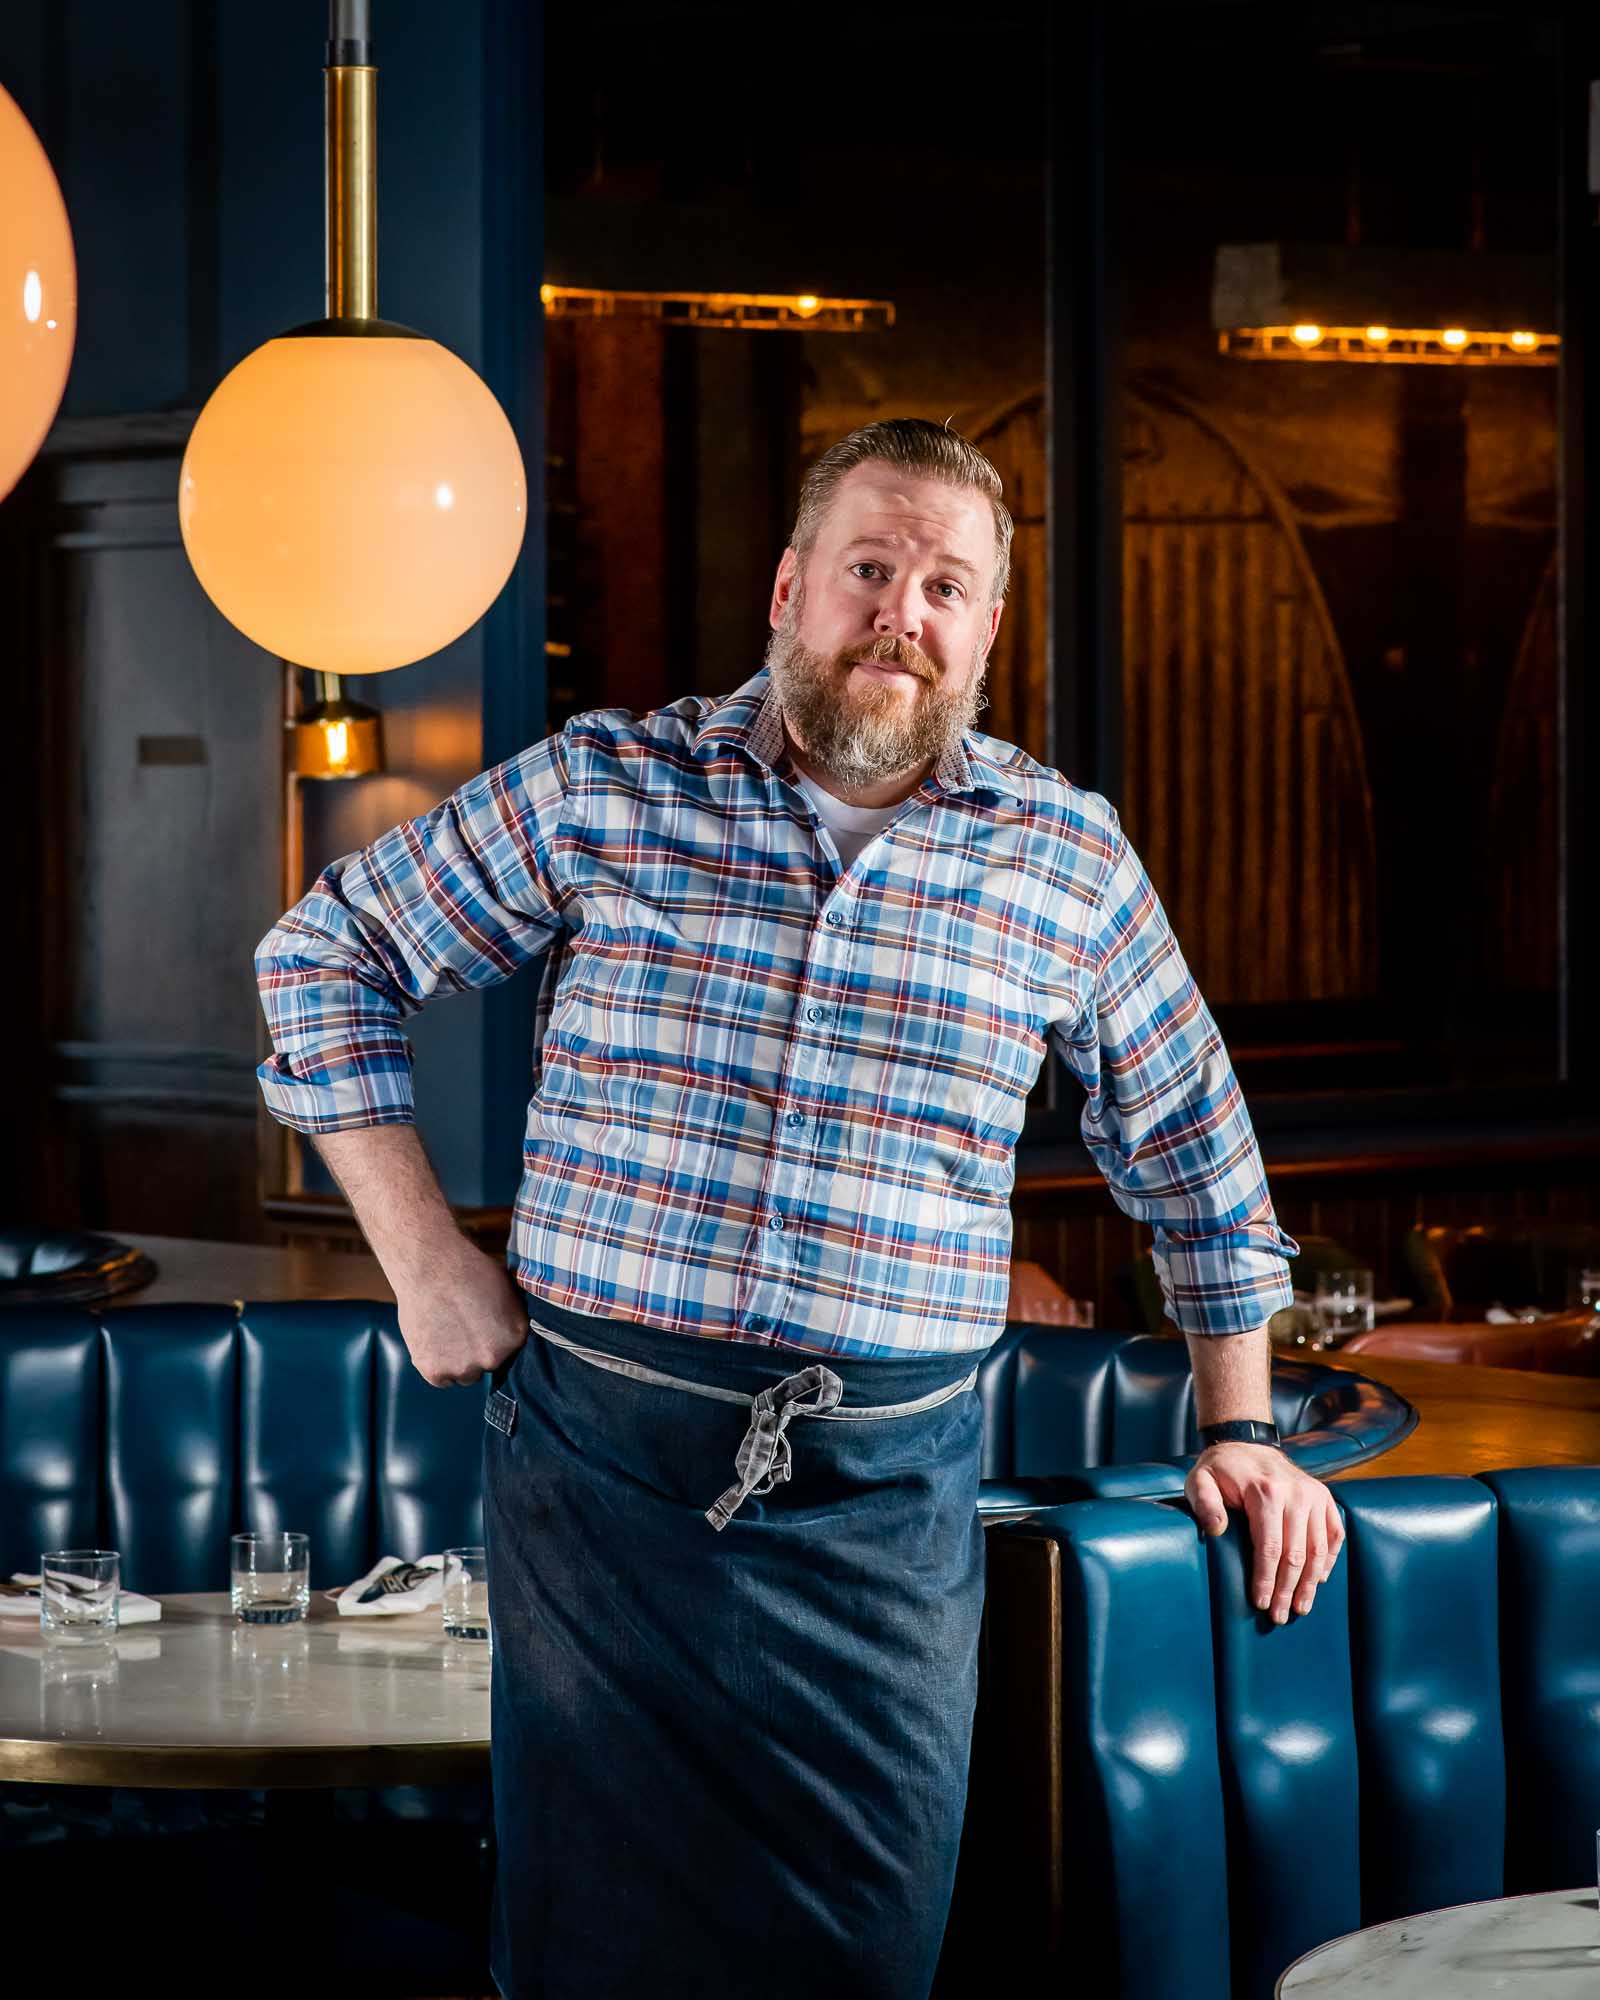

A Canadian chef’s take on the Italian art of crafting fresh pasta
By Andrew Piccinin, Photos by Hector Vasquez
Standing on a stool in my grandmother’s kitchen comes to mind when I think of visits to her home, an occasion usually accompanied by a convivial Italian supper. I’d often be tasked with some prep since, as the saying goes, many hands make light work. In addition to her famed lasagna — an intensive two-day process — my nonna’s specialty was antipasto: a jarred mélange of marinated tuna and vegetables, sealed and safely stored for frequent family gatherings. It was a true labour of love, as with so many other fixtures of Italian cooking.
In my role as District Executive Chef at Oliver & Bonacini Hospitality, I oversee the culinary direction at several Toronto restaurants, including Jump, Leña, Parcheggio, Beauty Eats and O&B Café Grill, Bayview Village. Parcheggio is especially influenced by my nonna’s spirited cooking. Meaning ‘parking lot’ in Italian, the name refers to the restaurant’s location (the parking lot of Bayview Village Shopping Centre) in a tongue-in-cheek way. Our menu embraces the Italian ethos: simple ingredients, when given time, skill and attention, are transformed into something beautiful and delicious.
My food philosophy is just that: quality ingredients, executed with care, yield delicious results. I like to describe the Parcheggio experience as ‘fine-ish dining’. We are a warm neighbourhood spot that serves standout food without the white tablecloths. The beauty of our North York eatery is that you can craft whatever type of experience you’re after, from a casual lunch featuring the best meatball you’ve ever had to a four-course Italian feast. We keep seasonality top of mind, featuring a few hearty, braised dishes in the winter and some lighter offerings perfect for al fresco dining during spring and summer.
We are best known, however, for our pasta. We offer both handmade as well as freshly extruded varieties. Everything is made fresh on-site, including my nonna’s lasagna. Since opening in 2018, we’ve embraced the notion that a restaurant should be the beating heart of its neighbourhood. We want guests to have a memorable meal regardless of their experience with Italian cuisine. You don’t have to speak the language or understand the idiosyncrasies of regional Italian cuisine to enjoy your visit.
When it comes to making fresh pasta, there are a few common misconceptions. Firstly, if you’re intimidated… that’s okay! It’s very traditional to cook with dried pasta, and you can achieve amazing results with dry noodles. Just don’t reach for the boxed supermarket brand. Look instead for bronze diecut pasta. These are extruded through perforated bronze plates for a noodle with a coarse surface texture which helps sauce to cling. In general, don’t be afraid to pay $5 or more for 500g of artisanal dry pasta. You’ll see the difference, I promise. Follow the package directions for a perfectly al dente bite. For a real restaurant-style experience, take your pasta out a minute early and toss with your sauce to finish cooking.
If you’re opting to make your own pasta, a common misconception is that you need fancy tools or equipment. That couldn’t be further from the truth! There are plenty of easy, equipment-free recipes. Jenn Louis’ Pasta by Hand is a great resource for handmade noodles and dumplings from across Italy.
Now let’s talk ingredients. Spend a little more for good extra virgin olive oil, quality San Marzano tomatoes packed in passata (or purée), real Parmigiano-Reggiano or Grana Padano and fresh (not jarred) garlic, ideally from Ontario. Even deceptively simple recipes can shine with the right product. That’s why I love Parcheggio’s ricotta gnocchi. Potato gnocchi can be finicky because a potato’s texture can vary from fluffy to sticky. Ricotta is more predictable. I get mine at Toronto’s International Cheese and the dough comes together in around 15 minutes. Throughout the pandemic, my virtual ricotta gnocchi class was a hit with beginner and experienced cooks alike. You can easily make a few batches and freeze them on a cookie sheet. Once frozen, pop them in a ziplock for a quick dinner when you’re short on time.
Possibly the most important step to cooking pasta is making sure your water has enough salt. “Season your pasta water like the sea” is a common saying among celebrity chefs, however, I recommend seasoning your pasta water like soup or broth. Remember to use non-iodized salt like kosher or sea salt for the best result. A correctly seasoned noodle dressed with a perfectly seasoned sauce is hard to beat.
My final tip is to develop a repertoire of ‘condimenti’ or condiments and sauces. And think about dressing your pasta like you would dress a salad. A delicate noodle will call for a sauce like aglio e olio: simply garlic and olive oil. A more rustic noodle or dried pasta can stand up to more robust sauces like Ragù alla Bolognese or other braised meat sauces. Once you’re familiar with a few, the rest is practice.
Since the essence of the Italian table is to come together with loved ones, I hope this recipe can do just that for your family. We’re also serving up a version at Parcheggio, where you’re welcome to enjoy a plate alongside our incredible wine selection, creative cocktails and impeccable service. However you choose to indulge, buon appetito!

Chef Andrew’s Ricotta Gnocchi with Peas, Butter, & Parmigiano
(Serves 2)
Ingredients:
Gnocchi
335g fresh ricotta
1pc egg
135g ap flour
80g grated parmigiano-reggiano
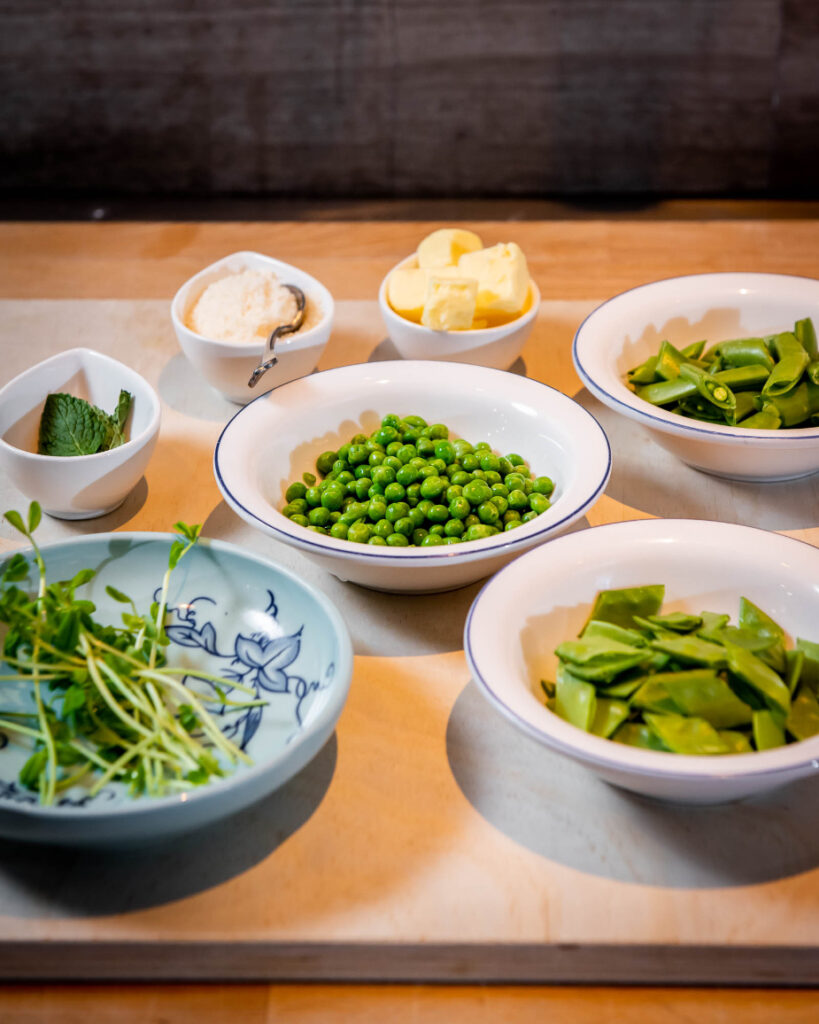
Sauce
175g butter
¾ cup sliced snow peas
¾ cup sliced snap peas
¾ cup frozen baby peas
10-12 leaves of fresh mint
50g grated parmigiano-reggiano
Equipment:
- Large pot of water, brought to a boil and seasoned well with salt
- Large mixing bowl, cookie sheet
- Wooden cutting board
- Spoons, forks, spatula, spider or slotted spoon, or colander
- Gnocchi paddle (if you have one)
- Heavy skillet
- Bowls for plating – ideally warming in a 120F oven
Instructions:
For the Gnocchi
- Drain the ricotta, place in a mixing bowl and mash with a spatula until smooth.
- Mix the eggs and grated parm into the ricotta until smooth. Add a little lemon zest or fresh grated nutmeg if you like.
- Add 50% of the flour to the ricotta and fold through. If necessary, add some more of the flour, and mix. You might not need all the flour, based on how dry/wet the ricotta is.
- Turn out the dough onto a wooden cutting board, or your countertop, and lightly knead until the dough comes together.
- It should be smooth, and slightly elastic. The surface will be a little moist, but not tacky. Press your hand against the dough and pull it away. Your hand should come away mostly clean.
- Add a little more flour if required. Be careful to not over-knead.
- Wrap the dough in plastic wrap, and let rest for 20-30min. (This step is optional – if you’re short on time, you can move right to rolling)
- When ready, dust a cookie sheet with a little flour.
- Take out your ball of dough, dust it with a little flour and press it flat to about 3cm thick. Cut the dough into 4-6 pieces, each as wide as the dough is tall, like long rectangles. Work with one piece at a time, covering the remaining pieces in plastic while you’re working.
- Roll the piece of dough out into a uniform log, about as big around as a hot dog.
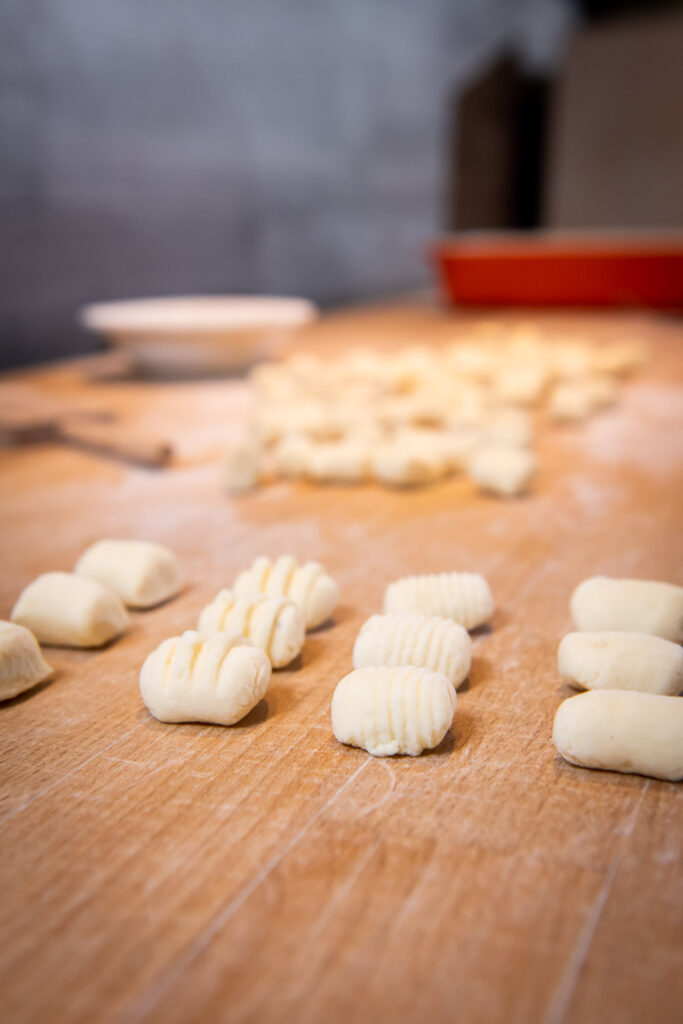
- Cut the log into small pieces, about as long as the log is wide.
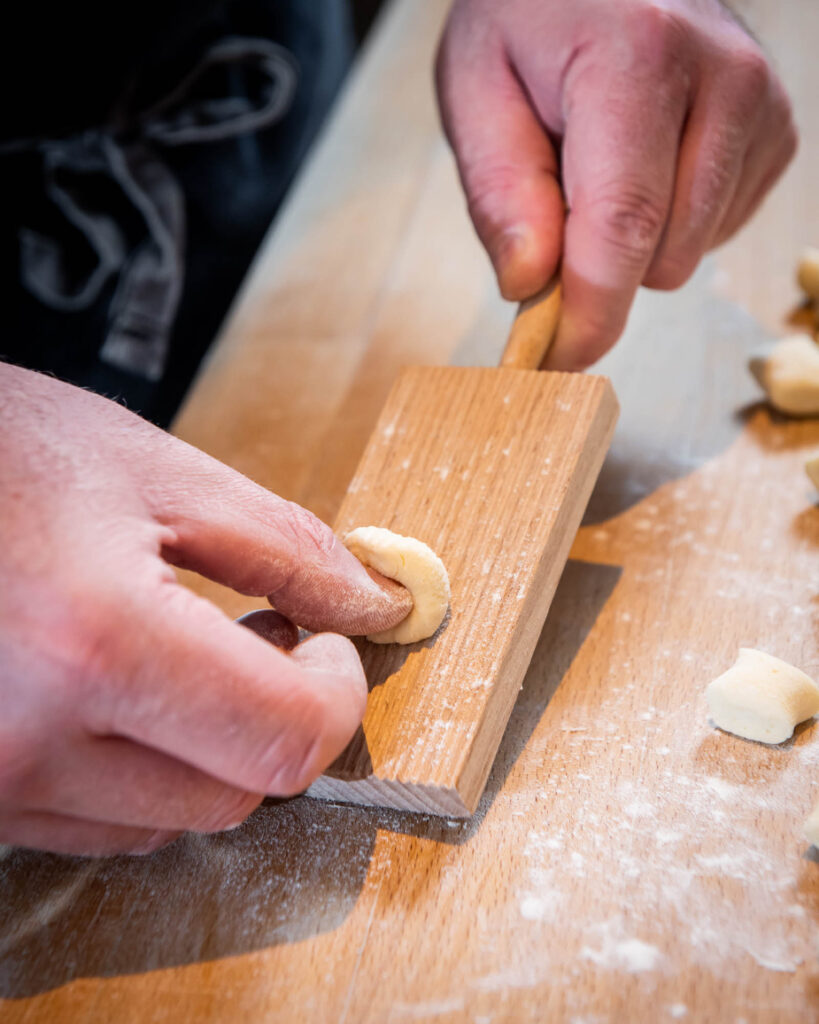
- If desired: emboss the dough by rolling the dumplings off the tines of a fork, or off a gnocchi board, putting a divot into the back of the dumpling as you do so. This step is not necessary, but adds a nice texture to catch the sauce.
- Place the finished dumplings onto the prepared cookie sheet, and pop them into the freezer for later, or hold them ready for immediate cooking.
- Frozen gnocchi can be transferred into a ziploc bag and stored for up to a month.
- Cook in boiling salted water.
- The gnocchi will float when they’re close to being cooked. 2-3min for fresh gnocchi. 4-5min for frozen.
- This batch will make enough gnocchi for 2 servings.
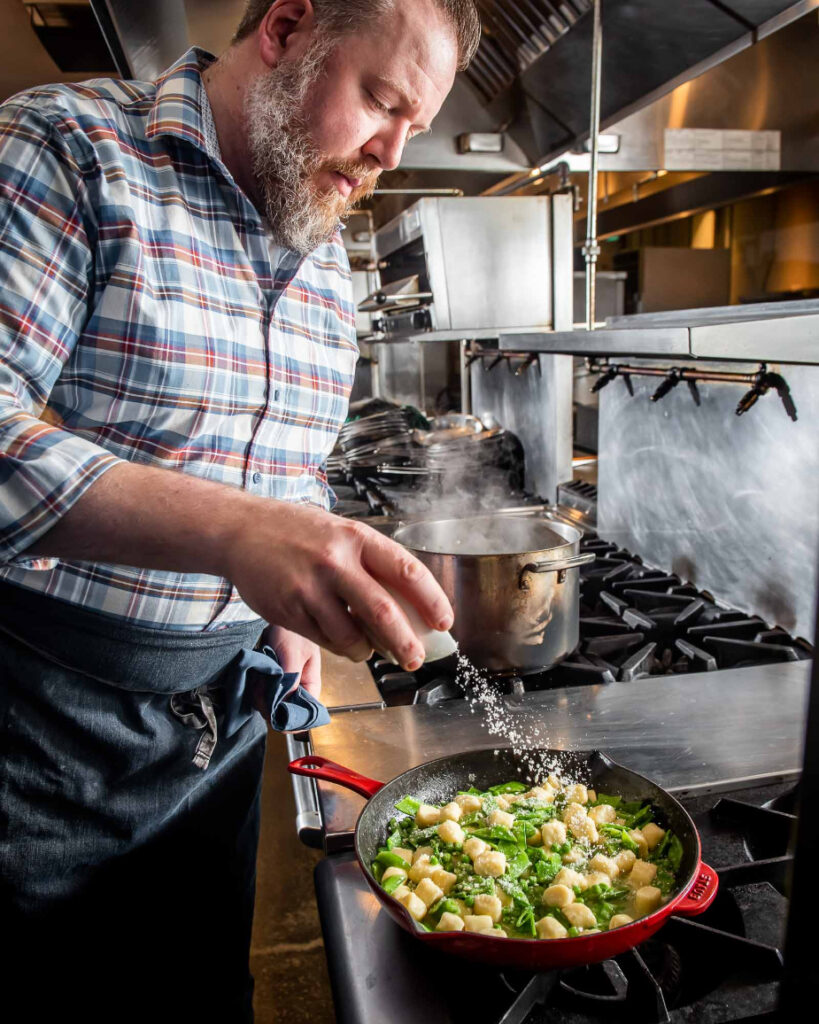
For the Sauce
- When you’re ready to start, get your big pot of boiling salted water on the boil.
- Place the skillet on medium-high heat with the butter and start it melting.
- Taste your pasta water before you start. Does it taste good? If it needs more salt, add it now. If it has too much, you can add a little water to dilute.
- Drop the gnocchi into the boiling water with the snap peas, snow peas, and frozen peas.
- Keep an eye on the butter. Once it’s frothy, add a small splash of the boiling water to stop it from turning brown, and turn the heat down.
- The gnocchi will float when they’re close to done. Test one to make sure it’s cooked through. If you squeeze it lightly, it should feel uniform in texture.
- Scoop the gnocchi and the peas out of the water using a spider or slotted spoon. If you’re going to use a colander, reserve a little of the pasta water first, and pour the gnocchi and peas through the colander very gently.
- Place the cooked gnocchi and peas into the pan of melted butter, and turn the heat up a little. Add a splash of pasta water to the pan at this stage.
- As it comes up to a boil, the sauce should begin to emulsify and get a creamy consistency. You want it a little loose and runny at this point.
- Turn the burner off, and sprinkle the gnocchi liberally with grated parm and stir it through.
- This will make the sauce very creamy and luscious. If it’s too thick, add another splash of reserved pasta water. If it’s too thick, simmer it down a bit.
- Tear half the mint leaves and add them at this point, stirring through.
- Check for seasoning, and add a sprinkle of salt if needed. You likely won’t need to add any salt, given the salt in the pasta water, and the parmigiano.
- Serve in warm bowls, topped with more parmigiano and a few of the reserved mint leaves.